DavidB773
-
Posts
73 -
Joined
-
Last visited
-
Days Won
37
2 Followers


Recent Profile Visitors
1,747 profile views


DavidB773's Achievements
")


-
Welcome, Moab!
-
I’m a firm believer in pegging parts because it’s useful for positioning and for added strength. Now how about this, a control line through the hull will bring the channel board (with ratlines secured) to the hull and hold it there. Then your positioning tool can be used to guide the part home. A single control line should handle it. I think that a longer peg, even made of wire, would allow for easier placement because it would create more slack with the ratlines.
-
 Bernard Kelly reacted to a post in a topic:
Mayflower
Bernard Kelly reacted to a post in a topic:
Mayflower
-
 Onni reacted to a post in a topic:
CSS Alabama
Onni reacted to a post in a topic:
CSS Alabama
-
Hello, Spanky. I see you’re considering pegging the channels to the hull with the ratlines already secured. That idea would save a lot of individual line adjustments inside the bottle. So the careful adjusting would need to be done on the outside. I’m interested to see how you proceed. Looking good! David
-
Hilarious! I like your project, Onni. It's a very lively craft and stands out. I appreciate that you've shared how the challenges were met. Thank you! David
-
Caleb reacted to a post in a topic:
Repairs inside the bottle
-
Caleb reacted to a post in a topic:
My first SIB: Dimond
-
Bruce Foxworthy reacted to a post in a topic:
TRIALS AND TRIBULATION WITH A BIGANTINE, OR BEGINNERS PARADISE.
-
TRIALS AND TRIBULATION WITH A BIGANTINE, OR BEGINNERS PARADISE.
DavidB773 replied to Bruce Foxworthy's topic in Build Logs
Bruce, your mentions of my attempt with the Dimond are very kind and appreciated but very much undeserved! The little ship is in a lab bottle from a school that I found at an antique shop. The pinch bottle you've chosen adds to the old school feel of your build. I see that CA glue is something you're not afraid to employ. For me, I could never gather the nerve to touch anything inside the bottle with CA because whatever I'd use to apply it would become part of the scenery! Best regards, David. -
TRIALS AND TRIBULATION WITH A BIGANTINE, OR BEGINNERS PARADISE.
DavidB773 replied to Bruce Foxworthy's topic in Build Logs
I like this ship. It has great character. Oh, how true that is! Maybe a little detail to mention to observers of our accomplishments. -
Cool ship there, James! Thanks for sharing it with us! David
-
For the single SIB I’ve completed, I drew the American flag on both sides of a single piece of paper then folded it in half. Used red and blue ink. Folded, the size is about 2 mm x 3 mm. I’m pretending that there are 38 stars in the field on this 1881 flag.
-
Hello, all. Here's a link to the video of the placement of the foremast on the W.H. Dimond using this tool. https://youtu.be/eT_Nua9Fi3Q David
-
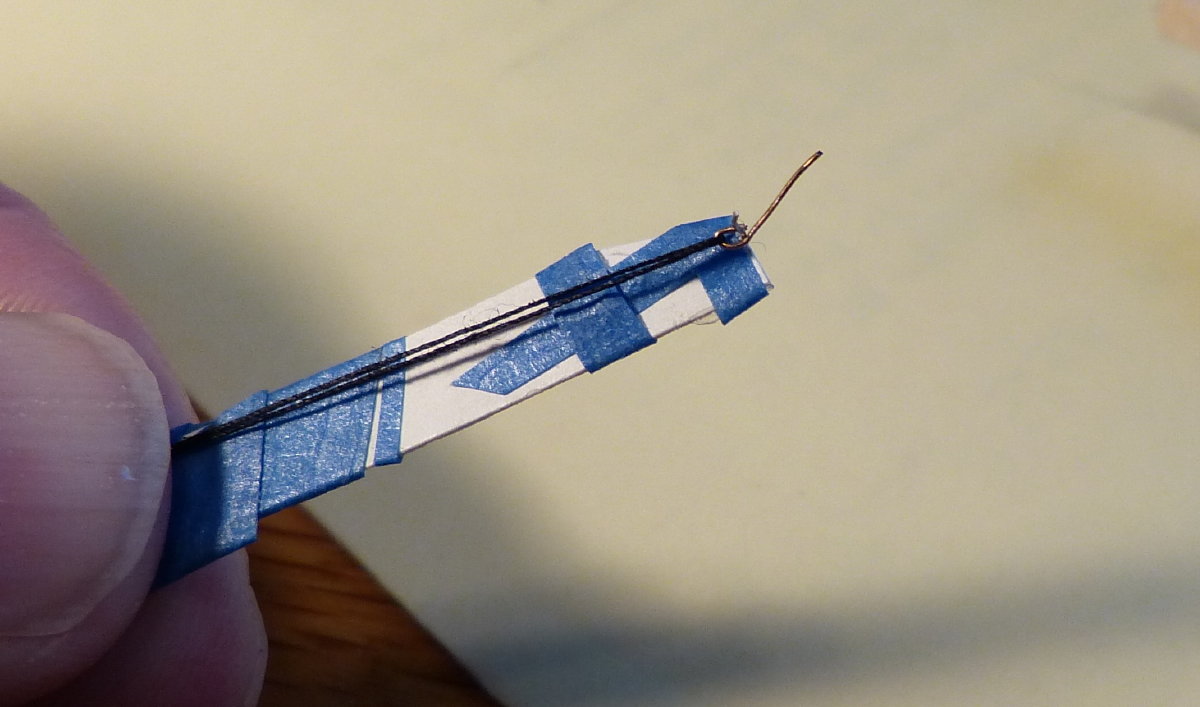
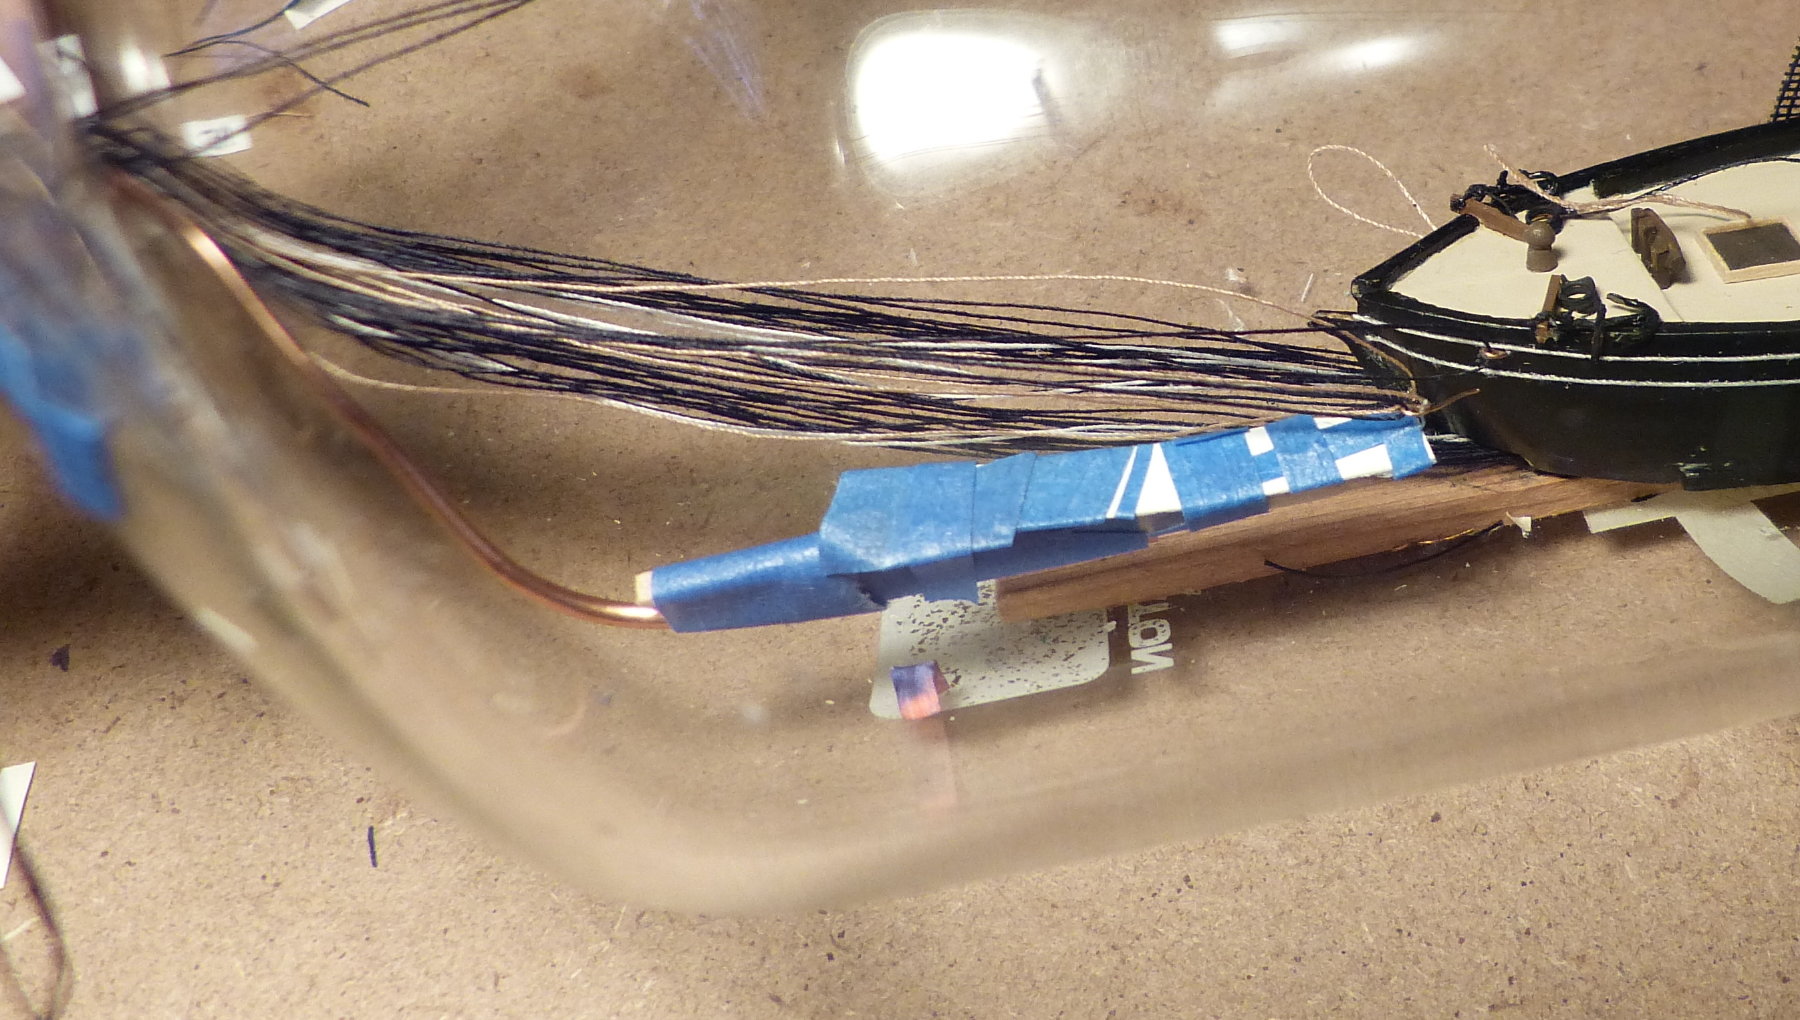
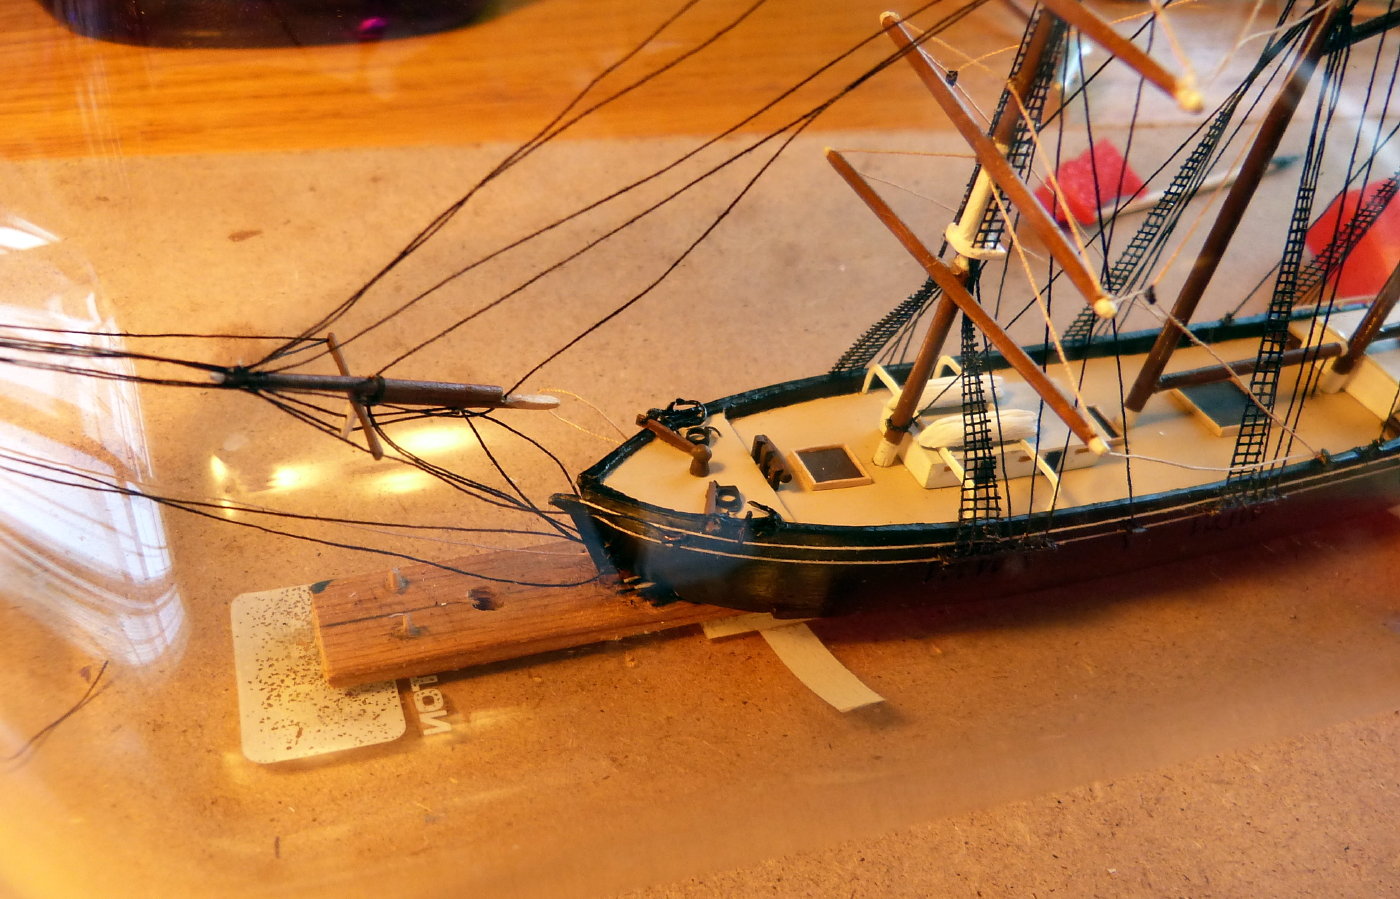
While working on the Dimond project, a threading loop on the port side bow was inadvertently yanked out. The loop was connected to a thread that exited at the base of the bow along with all the other threads. It was to be used for controlling a bowsprit brace from outside of the bottle. Here are two pics showing it beforehand. I didn’t want to lose an adjustment point that loop provided so I decided to place looped wire there for attaching the brace to. These photos show how I carried the wire to the bow and placed it in the hole. This depiction was after the initial repair was made. Here’s the stiff paper holder with the carrying wire being taped to it along with the wire peg and thread. The wire peg is in place on the holder and held there by tensioning the thread that will be used as the brace. This causes the wire peg to pivot forward and it is then carried to the bow and placed in the hole.


- 1 reply
-
- 9
-
-
Fine models, Spanky. The "Sovereign" looks like she's all there. The paddle wheel metalwork on the "Santa Clara" is quite detailed. Looks like she could have been a working model.
- 6 replies
-
- 2
-
-
- wooden ship kits
- wood ship kits
- (and 1 more)
-
I appreciate that, Arup! The bottle is not glued to the stand. Those square pads are a cured adhesive (E6000) cut to shape then glued to the stand. They grip the glass to keep it secure.
-
Thank you, Arup! Thank you, Mr. S., taking a look at what I'm doing here. I'm quite honored to read your opinion of what I've accomplished. I have a cork for the bottle but it needs to be sized to fit. However, I'm not going to let that get in the way of posting this!


- 90 replies
-
- 10
-
-
DavidB773 reacted to a post in a topic:
Ship in Bottle Club
-
She's almost complete. And no more lines coming out of the bottle!


-
In my case, bad things happen at any pace! One thing I'm facing is being able to create enough tension on the bowsprit forestays to move the foremast slightly forward for the purpose of tightening the foremast yard braces. The foremast would need to move only 1 or 2 mm for that. This is where the bobstays will do their part. Here, the control lines are being separated for the big cut. After this was done, the bowsprit was kept as shown while I was fitting the sea. That involved a lot of insertion and removal of the pair of sea halves and it was a lot quicker this way. All done.