Leaderboard


Popular Content
Showing content with the highest reputation since 04/18/2024 in all areas
-
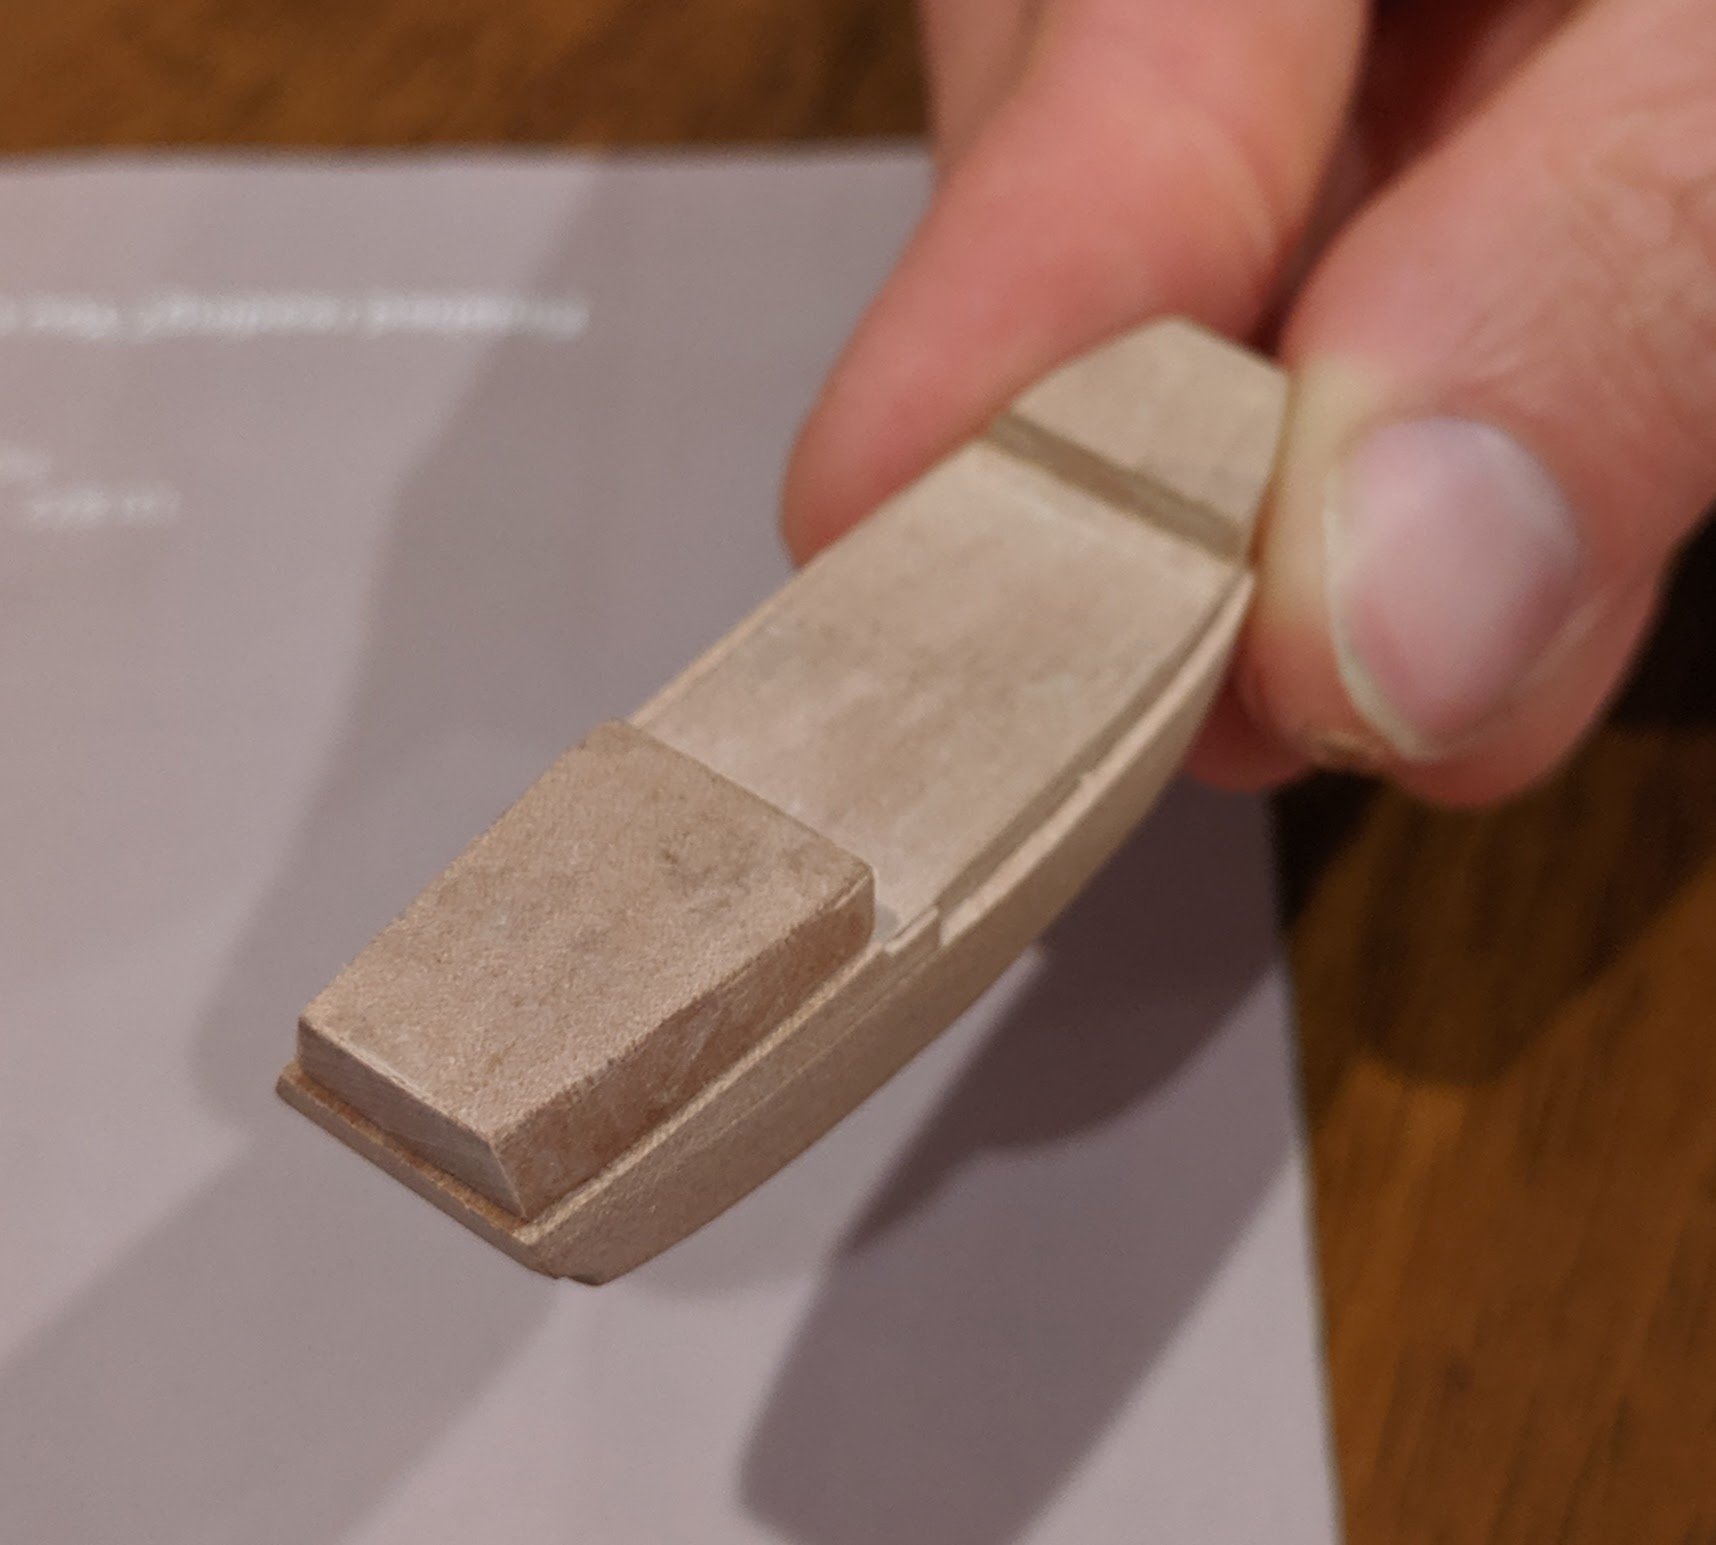
I was lucky enough to win the Amati Hannah SIB Kit at the Yarmouth Convention. Amati are known for ship models so I was looking forward to building it for the Whitstable Convention. I had to make some changes during the build - called ‘kit-bashing’ The photo below shows the box. Contents – the bottle is under images on the left. The hull pieces – laser cut plywood Photo-etch parts Sails There was also a small container of PVA glue, a strip of sandpaper, 4 self adhesive felt pads as feet for the bottle, 2 pieces of hardwood rod to be used with a length of brass rod and a metal hook as an insertion tool and a rigging tool, a small piece of MDF as the stand base and a small bag of white metal fittings such as the guns. The hull pieces are pressed out and glued together sandwich fashion. I had to use the keel and bowsprit photo-etch to line them up. It was messy as the soot on the edge of the pieces where the laser had burned them mixed with the PVA glue and went everywhere. During the constant handling of the keel piece it broke halfway up the bowsprit where it was half thickness to denote detail. Photo-etch deck being used for sizing I replaced the keel with one made from some of the excess plywood surrounding the hull pieces, and at the same time also decided to replace the flat photo-etch masts and yards with ‘proper’ wooden ones. Photo-etch bulwarks being tried for fit The photo-etched bulwarks were now tackled. This piece had to be carefully bent to the shape of the hull. There are tabs on the deck and the transom that fit into the bulwarks to help locate it. I had difficulty getting cyanoacrylate glue to adhere to the brass, no matter what I cleaned it with. Care also had to be taken with clamping it in place due to the very thin railing details. I ended up using Paraloid B72 adhesive. (see note at the end) Masts, yards and bowsprit Using the photo-etch masts for sizing, I made the masts, yards and bowsprit from some hardwood dowel thinned down to width. I used Hinckley Hinges for folding them. Bowsprit attached with rigging started I did some looking around on the internet for a paint scheme, and used acrylic paints as above. The sails are very thin fabric that frays at a glance, so I used dilute PVA to ‘paint’ both sides of the fabric where the cuts where to be made. I borrowed my wife’s rotary fabric cutter to get sharp cuts and this worked well. The sails were then bent into the masts and yards using brown thread. I made the mast hoops from thin slices of plastic tube, drilled out a bit to make it thinner. Sails and Ratlines Mast hoops and lacing to the yards Staysail To make the lacing for the staysails I first lace them to a piece of wire, stiffen them with dilute PVA and then thread the stay through the loops when dry. This allows the sail to move on the stay when folding the masts. Ratlines being made It was at this time, during a dry run fit of hull, stand and mast with no rigging that I realised that the bottle was not tall enough inside to accom accommodate the SIB, by about 4 mm. I could have shortened the mast, but it would have looked wrong. I had replaced the stand base with oak instead of the grotty MDF, so I thought about thinning it out, but again it looked out of proportion. Also the bottle was full of ‘wavy' bits of glass, would not stand properly on the felt pads, so I decided on a new bottle and sea instead of a stand, after all the sails are set. So that’s what I did and am a lot happier with the result. B72: Spotted this while watching a restoration on the British Museum website. Its acrylic beads mixed with acetone at different ratios depending on use. Its totally reversible if needed. I find it better than superglue in certain applications. Lots of info on the web.


 1 point
 -
What a skilful hand you have! Great piece of work!1 point
-
1 point
-
In progress...


 1 point
 -
1 point
-
1 point
-
1 point
-
1 point
-
1 point
-
1 point
-
1 point
-
In progress ...


 1 point
 -
Ahoy, It's been a very busy month but I finally managed to squeeze in a few hours this weekend. I masked the channel line and cut grooves down to take the bulwarks. I glued the bulwarks on too thick on purpose. This allowed me to sand them down thinner to shape and allowed me to try and make the join between the bulwark and the hull flush. I will be running a channel along the join to hide it better anyway. I spent a fair bit of time making some little cannons. The cannon barrels are from bamboo skewers turned down and blacked with a felt tip pen. The wheels are bristles from a dust brush. The bases are from bamboo skewers cut/sanded flat and cut to size. Glued together with PVA. I still need to trim the barrel lengths down, right now they are easier to handle. I store them on the sticky side of some tape. Saves them getting blown away. I also experimented making some hand railing for the forecastle deck, again using brush bristles and bamboo flats. I'm experimenting with hatching. Using blacked bristles here. I laid them up, spread PVA all over, then wiped off the excess and allowed to dry. I'm still not sure if I'll use this method, or try another. I also started glueing the bulwark handrails on. I will cap with a thin strip of bamboo flat on top of the black bristle shown below. I'm thinking of buying some fly tying silk to start experimenting with shrouds and ratlines. How do you folks deal with fly tying silk having a flat profile? Not round? I read somewhere that someone tried splitting the threads. Or is that not required and the flat profile is that that noticeable? Thanks all, I hope to post again soon.


 1 point