Leaderboard


Popular Content
Showing content with the highest reputation since 03/23/2024 in all areas
-
As I have been posting, I have been collecting ship in the bottle kits lately. Most of these escaped me in my youth since they came during my hiatus from modeling. At a certain age, one’s interests mature and things of youth are left behind. It takes a certain amount of curiosity to become interested in the less superficial aspects of modeling and requires a certain maturity to appreciate historical significance and fine craftsmanship. I’ve encountered a variety of different compositions of these kits. All the ones I’ve reported on so far are some variation of materials to be placed inside a glass bottle. The tradition of the activity has been building a model from wood and placing it inside a glass bottle with a sea made of putty since these are the materials that a person at sea may have had available to the them. To make the activity more accessible to the common person, lately more modern materials have been incorporated and some techniques have been improved and modified. Our seafaring predecessors may have appreciated some of these materials, such as CA “super glue” and tools such as small spiral drills and pin vises - not to mention accurate plans. And maybe they would have been repulsed by some other ideas. I like to stay as close to a traditional build as possible, but I do appreciate some modern conveniences such as my tiny drill bits and CA. This kit deviates from the tradition in that it is a plastic model of a ship to be placed into a glass bottle. It actually has a very nice glass bottle and a neat little stand for it. The introduction on the instruction sheet states: “In this kit, modern methods and materials have been used to allow you to re-create this fascinating craft and learn age-old skills. None of the original ingenuity has been lost!” But in reality I’m gluing together a pre-fabricated plastic hull and parts to be placed inside a glass bottle. How much ingenuity is that? So here I present the kit made by Airfix (Humbrol limited) “Cutty Sark” # 6003. There were also two other kits in this series: the “Mayflower” and “Charles W. Morgan”. These are all well know historical ships with the “Cutty Sark” and the “C.W.Morgan” still preserved for observation so there should be some expectation of detailed accuracy. The kit is well presented in very nice packaging and a very elaborate instruction sheet with various language interpretations. But it contains no historical information about the ship. My first impression when I received the box was how large the kit is. The box measures 12”x 14.5”. The kit contains a very nice large rectangular flask type bottle that measures 8.5” x 4.5” (from the tip of the neck). The neck opening is so large I can put my thumb into it. Also included is the only wooden part, a nice stand to place the bottle on complete with plastic whale carvings. A long with the plastic parts for the hull, masts and spars and a sheet of plasticized paper sails are a set of paints with small brush, tubes of glue for paper and plastic, rigging thread and cordage for neck decoration, a metal tool for model insertion and a cork for the neck - and of course the completely hardened by now white and blue modeling clay. There is also a plastic rigging stand that doesn’t look like it could be repurposed for use with a wooden model. Also included are little plastic dolphins and a small light house for embellishments to be placed in the putty sea. One of the reasons I bought this kit was for my preparation to build a “Cutty Sark” model which is the final model in the Jack Needham book. I didn’t have a bottle large enough for his dimensions and I wanted a sail plan. So my initial plan is to repurpose the bottle and some materials perhaps to build a wooden model using the dimensions from the plastic one and repurpose the sails. It just seems like a shame to put a plastic ship into such a nice bottle. I haven’t built a plastic model since my pre-teen years and I wasn’t that enthusiastic about it then. I think it does require some sophistication to build a convincing plastic model and that it is a legitimate modeling hobby but it strays a bit far from the tradition of putting a ship in a bottle. But the kit is a nice kit for what it is.

 2 points
 -
Buenas y saludos: Les comparto el paso a paso de este bote, faltan algunas imagenes pero creo que se pueden interpretar, cuando estaba colocando la primera vela dentro de la botella al cortar los hilos sobrantes, la hoja me jugó una mala pasada, ustedes vean algunas imagenes raras de hilos sueltos y se daran cuenta que es cuando sin querer corte un hilo por que paso y como lo reconstrui, de todos modos ya saben si alguien quiere informacion especifica de alguna imagen solo tiene que preguntar, con gusto lo hare ayudarlo y explicar todo lo que quiera, cuando uso el traductor de Google, me resulta inaccesible comentar imagen por imagen y ahora me estoy quedando sin tiempo. Gracias por su comprensión. 23.webp


 2 points
 -
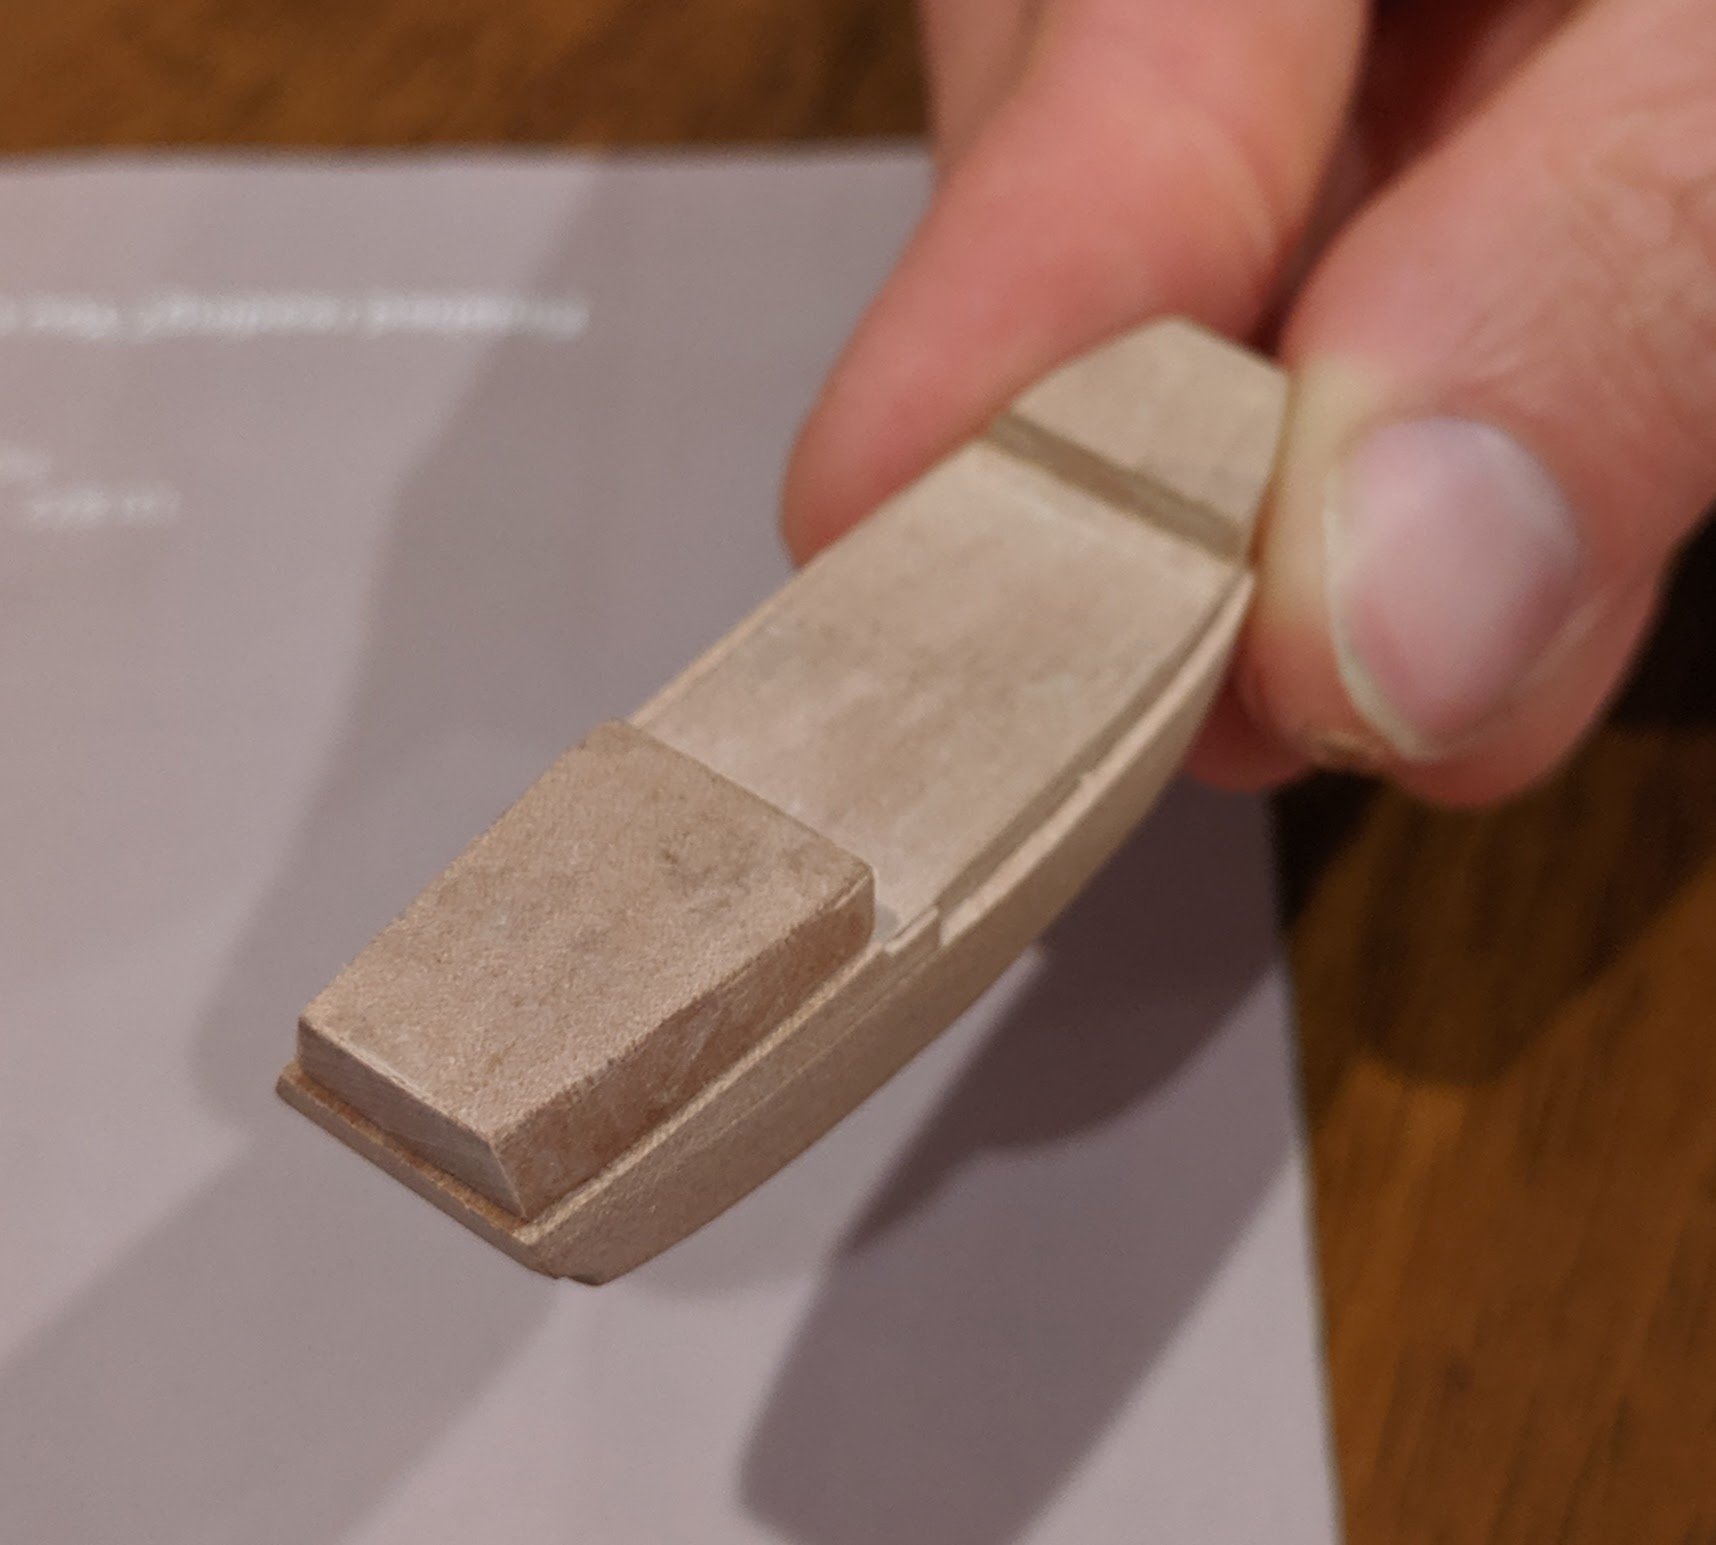
I was lucky enough to win the Amati Hannah SIB Kit at the Yarmouth Convention. Amati are known for ship models so I was looking forward to building it for the Whitstable Convention. I had to make some changes during the build - called ‘kit-bashing’ The photo below shows the box. Contents – the bottle is under images on the left. The hull pieces – laser cut plywood Photo-etch parts Sails There was also a small container of PVA glue, a strip of sandpaper, 4 self adhesive felt pads as feet for the bottle, 2 pieces of hardwood rod to be used with a length of brass rod and a metal hook as an insertion tool and a rigging tool, a small piece of MDF as the stand base and a small bag of white metal fittings such as the guns. The hull pieces are pressed out and glued together sandwich fashion. I had to use the keel and bowsprit photo-etch to line them up. It was messy as the soot on the edge of the pieces where the laser had burned them mixed with the PVA glue and went everywhere. During the constant handling of the keel piece it broke halfway up the bowsprit where it was half thickness to denote detail. Photo-etch deck being used for sizing I replaced the keel with one made from some of the excess plywood surrounding the hull pieces, and at the same time also decided to replace the flat photo-etch masts and yards with ‘proper’ wooden ones. Photo-etch bulwarks being tried for fit The photo-etched bulwarks were now tackled. This piece had to be carefully bent to the shape of the hull. There are tabs on the deck and the transom that fit into the bulwarks to help locate it. I had difficulty getting cyanoacrylate glue to adhere to the brass, no matter what I cleaned it with. Care also had to be taken with clamping it in place due to the very thin railing details. I ended up using Paraloid B72 adhesive. (see note at the end) Masts, yards and bowsprit Using the photo-etch masts for sizing, I made the masts, yards and bowsprit from some hardwood dowel thinned down to width. I used Hinckley Hinges for folding them. Bowsprit attached with rigging started I did some looking around on the internet for a paint scheme, and used acrylic paints as above. The sails are very thin fabric that frays at a glance, so I used dilute PVA to ‘paint’ both sides of the fabric where the cuts where to be made. I borrowed my wife’s rotary fabric cutter to get sharp cuts and this worked well. The sails were then bent into the masts and yards using brown thread. I made the mast hoops from thin slices of plastic tube, drilled out a bit to make it thinner. Sails and Ratlines Mast hoops and lacing to the yards Staysail To make the lacing for the staysails I first lace them to a piece of wire, stiffen them with dilute PVA and then thread the stay through the loops when dry. This allows the sail to move on the stay when folding the masts. Ratlines being made It was at this time, during a dry run fit of hull, stand and mast with no rigging that I realised that the bottle was not tall enough inside to accom accommodate the SIB, by about 4 mm. I could have shortened the mast, but it would have looked wrong. I had replaced the stand base with oak instead of the grotty MDF, so I thought about thinning it out, but again it looked out of proportion. Also the bottle was full of ‘wavy' bits of glass, would not stand properly on the felt pads, so I decided on a new bottle and sea instead of a stand, after all the sails are set. So that’s what I did and am a lot happier with the result. B72: Spotted this while watching a restoration on the British Museum website. Its acrylic beads mixed with acetone at different ratios depending on use. Its totally reversible if needed. I find it better than superglue in certain applications. Lots of info on the web.


 1 point
 -

What's on your workbench?
John Fox III reacted to IgorSky for a topic
New project...
 1 point
 -
Muchas gracias por los detalles fotográficos del planeamiento y ejecución de la construcción del barco. ¡Excelente trabajo y muy ilustrativo!1 point
-
What a skilful hand you have! Great piece of work!1 point
-

Galleon Ship - First SIB Plan and Build Notes
ethanjhodgson reacted to Lboro for a topic
Really very nice reporting, I've enjoyed and learned a lot from it! Beautiful ship!1 point -
1 point
-
In progress...


 1 point
 -
1 point
-
1 point
-
1 point
-
1 point
-
1 point
-
1 point
-
1 point
-
In progress ...


 1 point
 -

Galleon Ship - First SIB Plan and Build Notes
ethanjhodgson reacted to Caleb for a topic
A hoy, It's been a couple of years but finally back into it! My wife's first pregnancy gave us twins, which would you believe left me little spare time... but finally this project is down off the shelf! So I made a figure head, using a copper wire frame and layers of PVA glue to give volume, then painted white. She's meant to be an angel giving flight to a dove. I re-did the main bulwarks and added capping the to top of the rear section to match. This gave me light coloured bamboo on the tops of all handrails/bulwarks. I also added some stripping along the hull to break up the otherwise bland hull. I made these out of thinned bamboo skewers and bristles out of a brush. They also conceal the join lines of the three separate hull sections pretty well too. I shaped the keel, added a rudder and made some mounts. I am in no ways ready to sculpt an angry sea, so I've gone for traditional mounts, stained to give contrast. I made a capstan using a similar method as the helm wheel. Installed just behind the main mast. Installed the cannons on deck, and the helm wheel. Some door frames to the rear cabins A skylight for the rear cabins. This I made out of brush bristles, thin square cut wood, and yellow card stock to imitate stained glass. 3 gusset braces added to the very rear section. The curved stairs to the rear section I made out of many layers of thinned bamboo skewers glued together to give the tread. I love how they've turned out. I also added some simple grating to the front section, as I thought the deck looked a little bare. I've added all the rigging to the sails and masts and drilled the holes in the deck for the lines to pass through. I'm intending for some of the lines to come out underneath where the longboat will mount. Thus covering the cut off line ends. Some other lines will come and and be glued and cut off behind the stairs. Hence, the stairs and the long boat will need to be installed as a last step, after all the rigging is done. Ready to bottle! Any suggestions on the best way to glue the hull to the glass? Is epoxy the strongest and easiest to work with? I'll post again soon showing the full sail/rigging set up. Kind regards, Caleb.


 1 point
 -
Well, go for it...it's not a difficult boat and it's very entertaining. All the best.1 point
-
Nice! I always wanted to build one of these1 point
-
The End. Greatings.1 point
-
Ahoy, It's been a very busy month but I finally managed to squeeze in a few hours this weekend. I masked the channel line and cut grooves down to take the bulwarks. I glued the bulwarks on too thick on purpose. This allowed me to sand them down thinner to shape and allowed me to try and make the join between the bulwark and the hull flush. I will be running a channel along the join to hide it better anyway. I spent a fair bit of time making some little cannons. The cannon barrels are from bamboo skewers turned down and blacked with a felt tip pen. The wheels are bristles from a dust brush. The bases are from bamboo skewers cut/sanded flat and cut to size. Glued together with PVA. I still need to trim the barrel lengths down, right now they are easier to handle. I store them on the sticky side of some tape. Saves them getting blown away. I also experimented making some hand railing for the forecastle deck, again using brush bristles and bamboo flats. I'm experimenting with hatching. Using blacked bristles here. I laid them up, spread PVA all over, then wiped off the excess and allowed to dry. I'm still not sure if I'll use this method, or try another. I also started glueing the bulwark handrails on. I will cap with a thin strip of bamboo flat on top of the black bristle shown below. I'm thinking of buying some fly tying silk to start experimenting with shrouds and ratlines. How do you folks deal with fly tying silk having a flat profile? Not round? I read somewhere that someone tried splitting the threads. Or is that not required and the flat profile is that that noticeable? Thanks all, I hope to post again soon.


 1 point